

Salesforce Marketing Cloud is a very powerful tool, there are some limitations and restrictions to work around certain tasks that you can perform, and uploading font files into Content Builder/Web Studio is one of them.
Use Case:
A client has brand-specific guidelines for using specific fonts on the landing pages or in email messages. Marketing Cloud doesn’t have the same font support, although it is recommended to use “Websafe” fonts on emails as they render on all email clients but if the client has specific brand guidelines that mandate them to use the specific fonts we can follow this solution.
Solution:
Build a custom solution for these types of fonts to be used on the email messages or for the landing pages.
For those who are not familiar with the Online Salesforce Marketing Cloud UI, here is-

Step 1
-
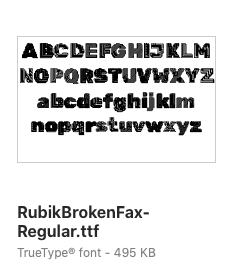
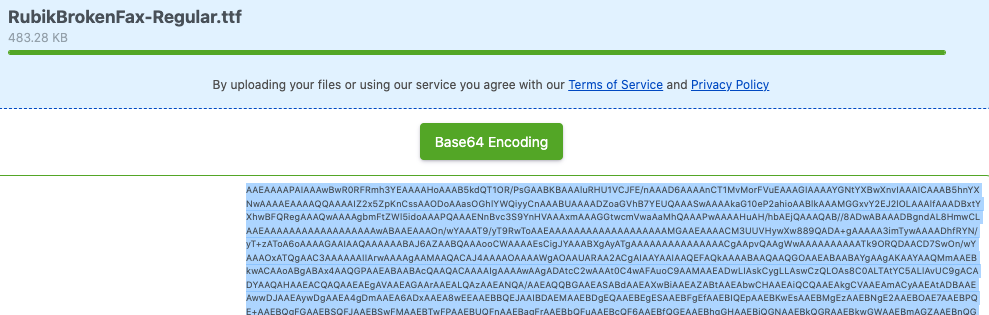
Convert the font file to a base64 and export it to a .txt file.
-
In my case it is a .ttf font file.
-
Use this url to convert ttf (TrueType font) file to txt (text) file : https://products.aspose.app/font/base64/ttf
-
Click on the green button (Base 64 Encoding). A code will be generated. Copy this code. This code will be used further when we create code snippet content block.
Step 2
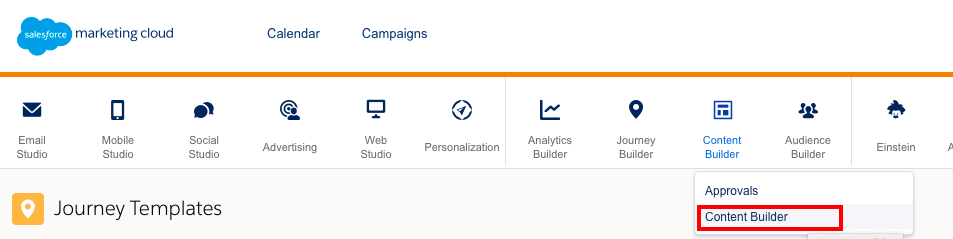
- You have two options to create a custom font –
- Content Builder –> Code Snippet.
- Web Studio –> Landing Page or Cloudpage.
-
Let us create the custom font with content builder code snippet.
-
Hover on the Content Builder tab.
-
Click on Content Builder.
-
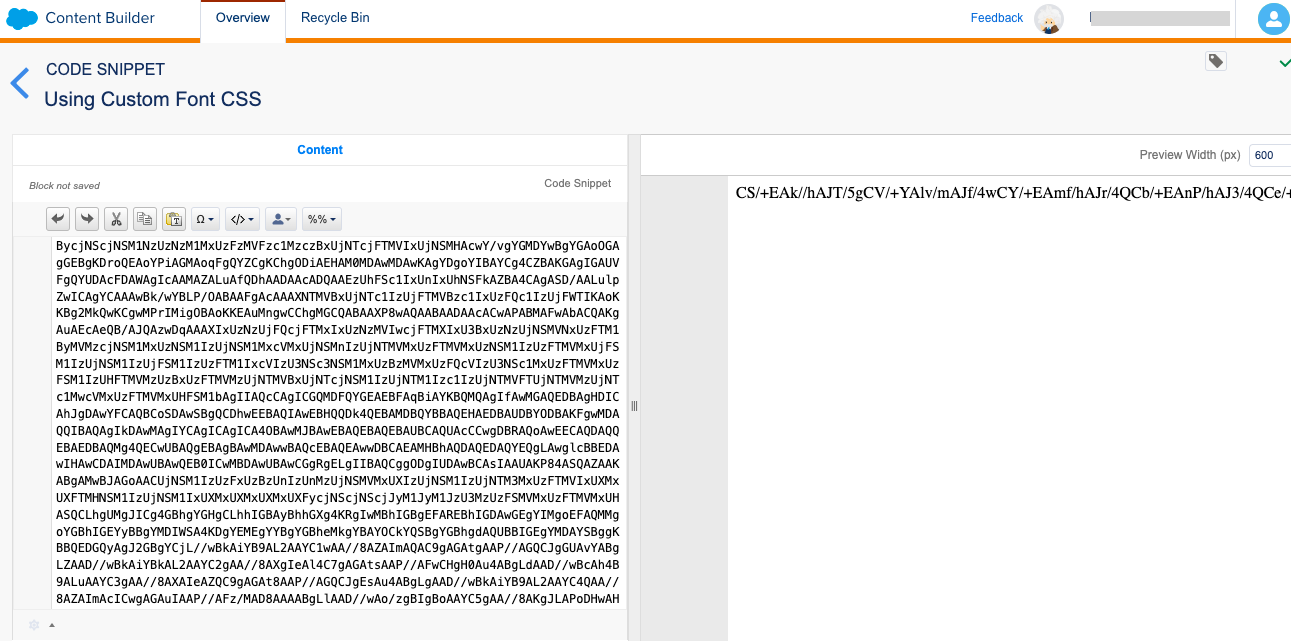
Click on +Create content blocks and choose option code snippet.

-
Copy the converted file code to the code snippet content block and save it.
-
Copy the ID of the code snippet content block as this will be required in our cloud page that we are going to create in the next step.
-
Content Block ID-

-
Open the CloudPage and add the below code snippet according to where you want the custom font to be loaded.
<html>
<head>
<meta charset="utf-8">
<title>Custom Font CloudPage</title>
<style>
@font-face {
font-family: "XyzCustomFamily";
src: url(data:font/ttf;charset=utf-8;base64,%%=ContentBlockbyId("160535")=%%) format('truetype');
font-weight: 400;
font-style: normal;
}

body {
background-color: bisque;
}
</style>
</head>
<body>
<!-- Use the custom font-family -->
<h1 style="font-family:'XyzCustomFamily',Arial;text-transform: capitalize;color: #1b0278;">This is my heading
</h1>
</body>
</html>


