

Connect a data file Using TotalConnect
Let’s assume you want to create workspace in your MCI.
It’s now time connect your data into an MCI(Marketing Cloud Intelligence). There are several ways to connect your data.
This document focuses on your connecting data. Based on the customer connector name TotalConnect. Which enables to you connect any type of data you may have. Using total connect using three steps:
- Preview Source -> Previewing your source data.
- Map to model -> Teaching a system have integrate your data file
- Advance setting -> Configuring data refresh and configuring advance setting.
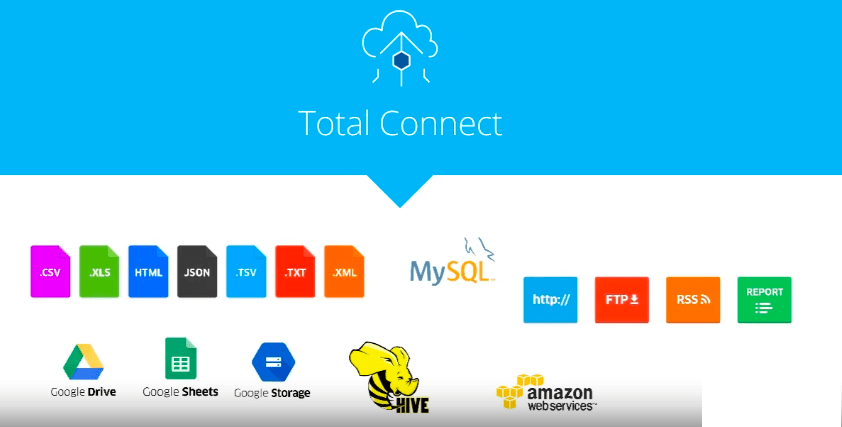
Full-Power Experience Automatically analyse, transform, and harmonize your marketing data. You can also upload data manually, automatically using FTP, or an email address, or by scheduling an update with a technical vendor.
First, let’s analyse the file (expand for answers):
1- What are the Dimensions in this file, and what are the Measurements?
Dimensions: Columns A, B, C, D, E, F. Measurements: Columns G, H, I, J, K, L, M, N, O.
| Columns | Fields Name | |
| A | Day | Dimensions |
| B | Creative Name | Dimensions |
| C | Creative Key | Dimensions |
| D | Placement Name | Dimensions |
| E | Campaign Name | Dimensions |
| F | Campaign Key | Dimensions |
| G | Clicks | Measurements |
| H | Delivery Social Post Likes | Measurements |
| I | Impressions | Measurements |
| J | Media Cost | Measurements |
| K | Social Clicks | Measurements |
| L | Social Impressions | Measurements |
| M | Website Clicks | Measurements |
| N | Social Page Likes | Measurements |
| O | Social Post Engagement | Measurements |

2- Based on the types of Dimensions and Measurements in the file – what is the Data Stream Type?
Let’s take example of Data Stream Type is Ads.
Create a new Data Stream in your Workspace.
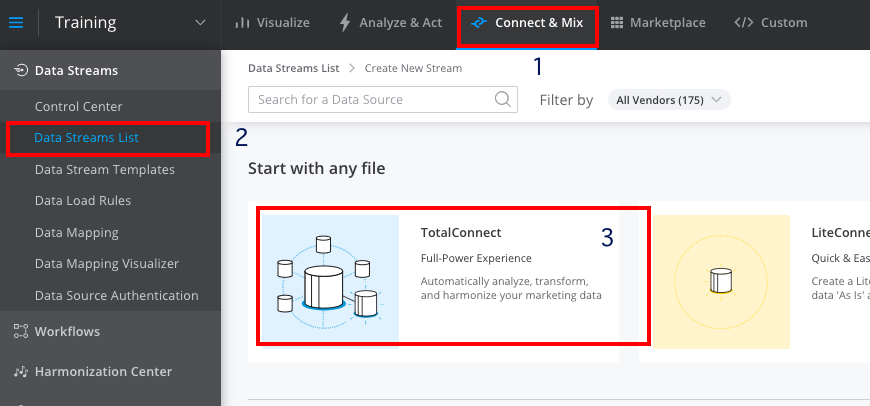
- From the Connect & Mix tab, click on ‘Add New’.

- Select TotalConnect (3) as the connector.
In this activity, you will work with this file – analyzing it, uploading it into Datorama and mapping it: (Choose your dummy file).
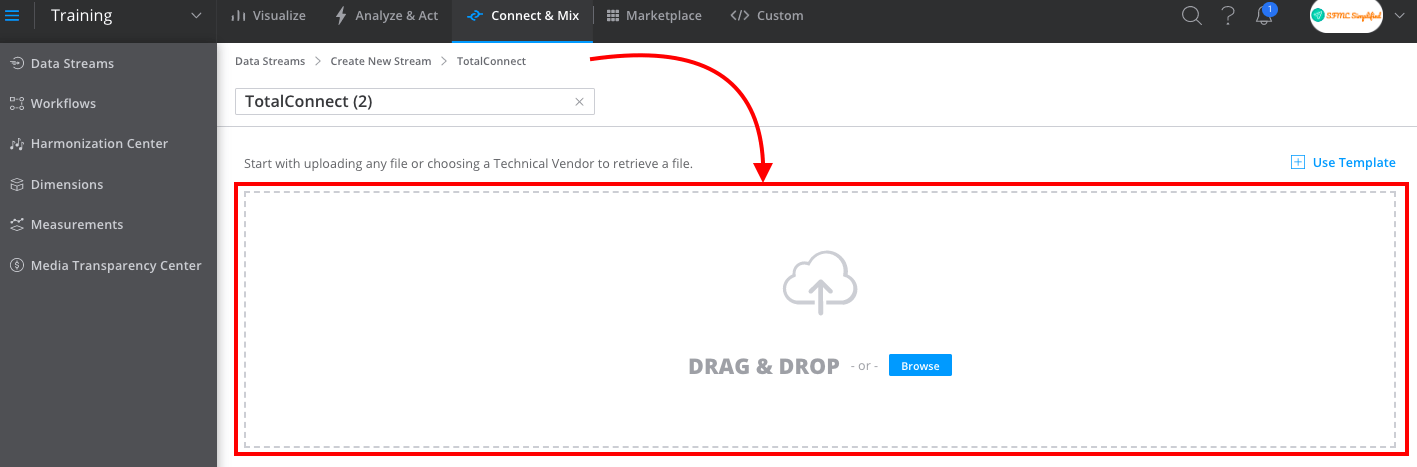
- Upload the provided file either by dragging and dropping, or by browsing to it.
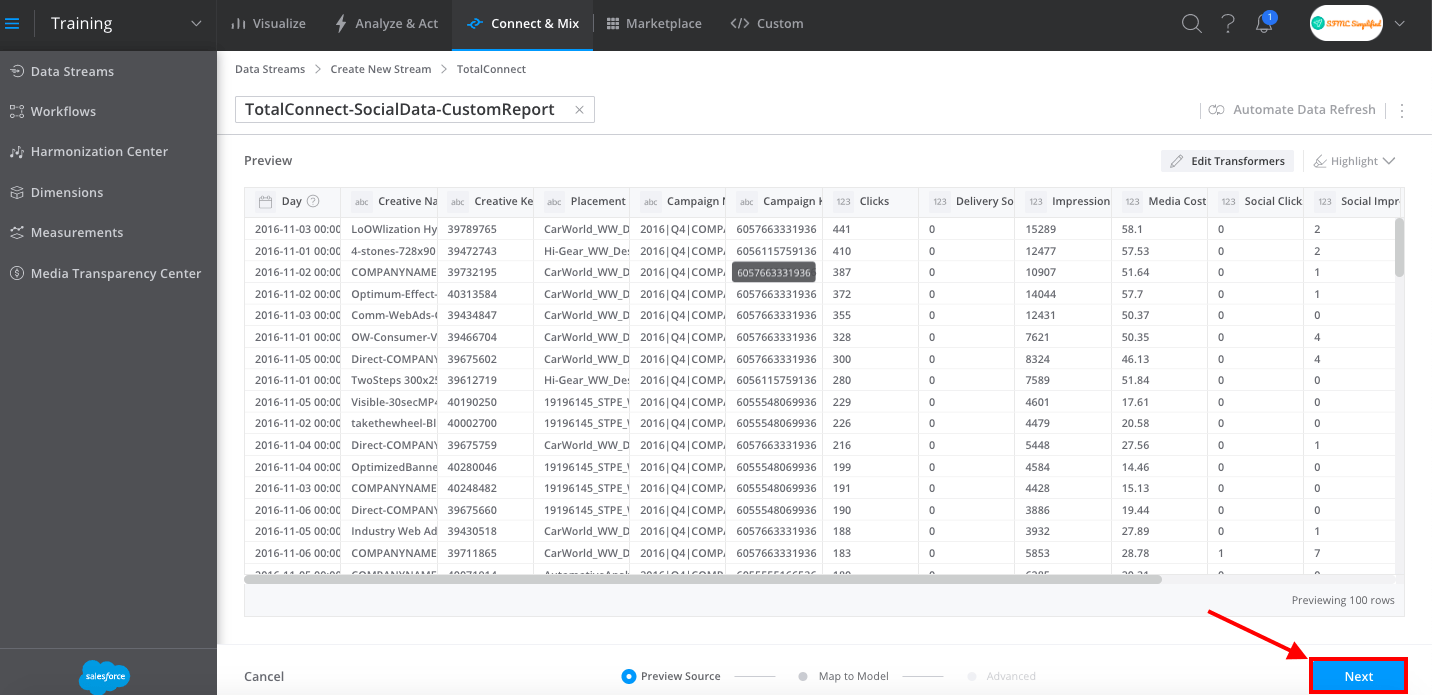
- First, you will be shown a preview of your source data. Click Next.
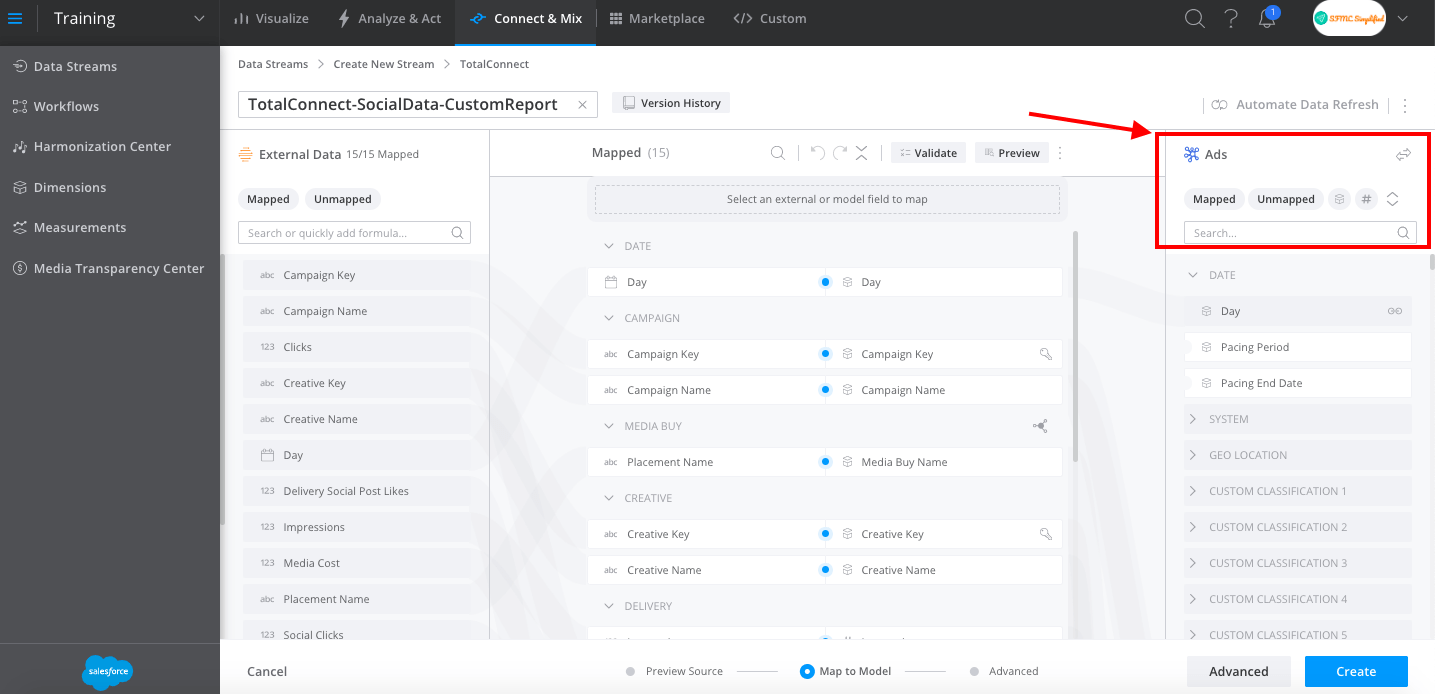
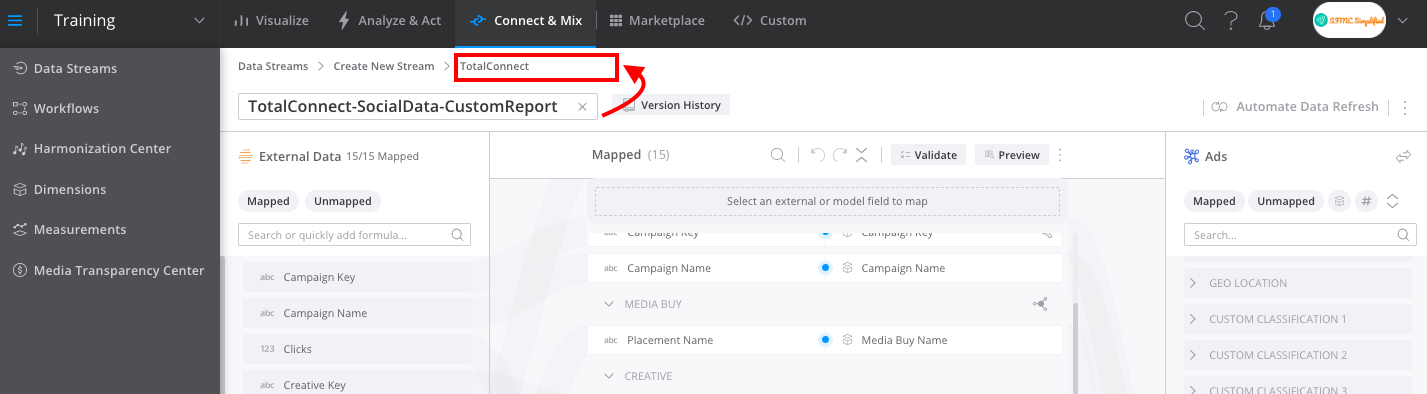
- Your data will then be analysed and mapped automatically by the system to the Datorama Data Model. In this case, you can see in the right-hand column of the mapping screen that it was mapped to the “Ads” data model type:
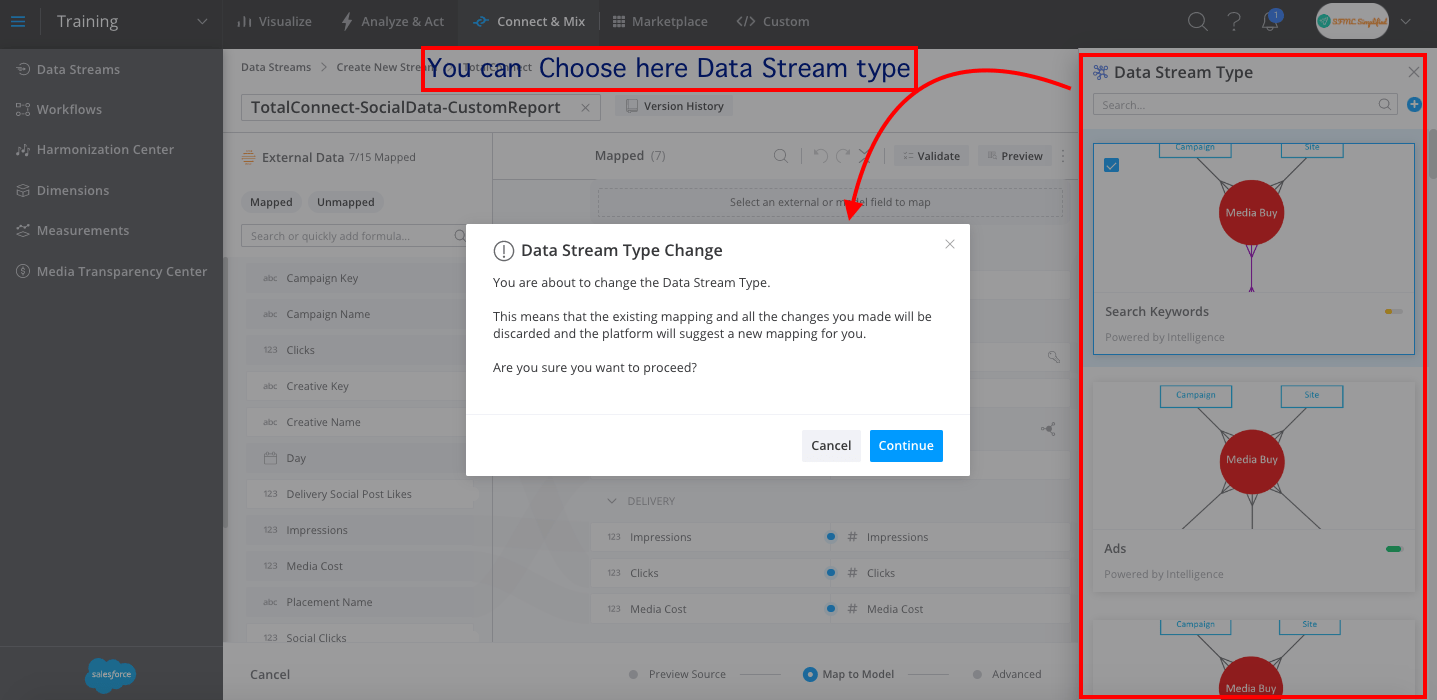
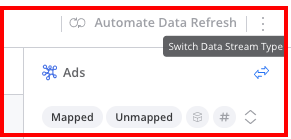
Note- if you wanted to switch the Data Stream Type, you could do so with the “Switch Data Stream Type” button next to the Ads model (see below). This is also where you could create a Generic Data Stream Type, if needed.
To this exercise, do not switch the type.
Name your Data Stream “Social Data” at the top of the screen:
Next, you will begin mapping. Mapping is the process of correlating fields from your Source Data to the appropriate fields in the Datorama Data Model.
- The External Data (your source file) appears on the left panel. There is a toggle option for “Mapped” and “Unmapped” fields from your External Data allowing you to filter to those that are already mapped or those that are unmapped. In this example, all 15 fields are already mapped.
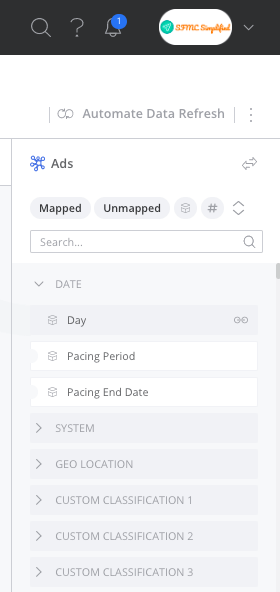
- On the right hand panel of the screen, you will see the Ads data stream. Here is the destination of the data you are loading in. You can toggle “Mapped” to see those you have mapped, “Unmapped” for those that are unmapped, “Dimensions” (box symbol), and “Measurements” (# symbol).
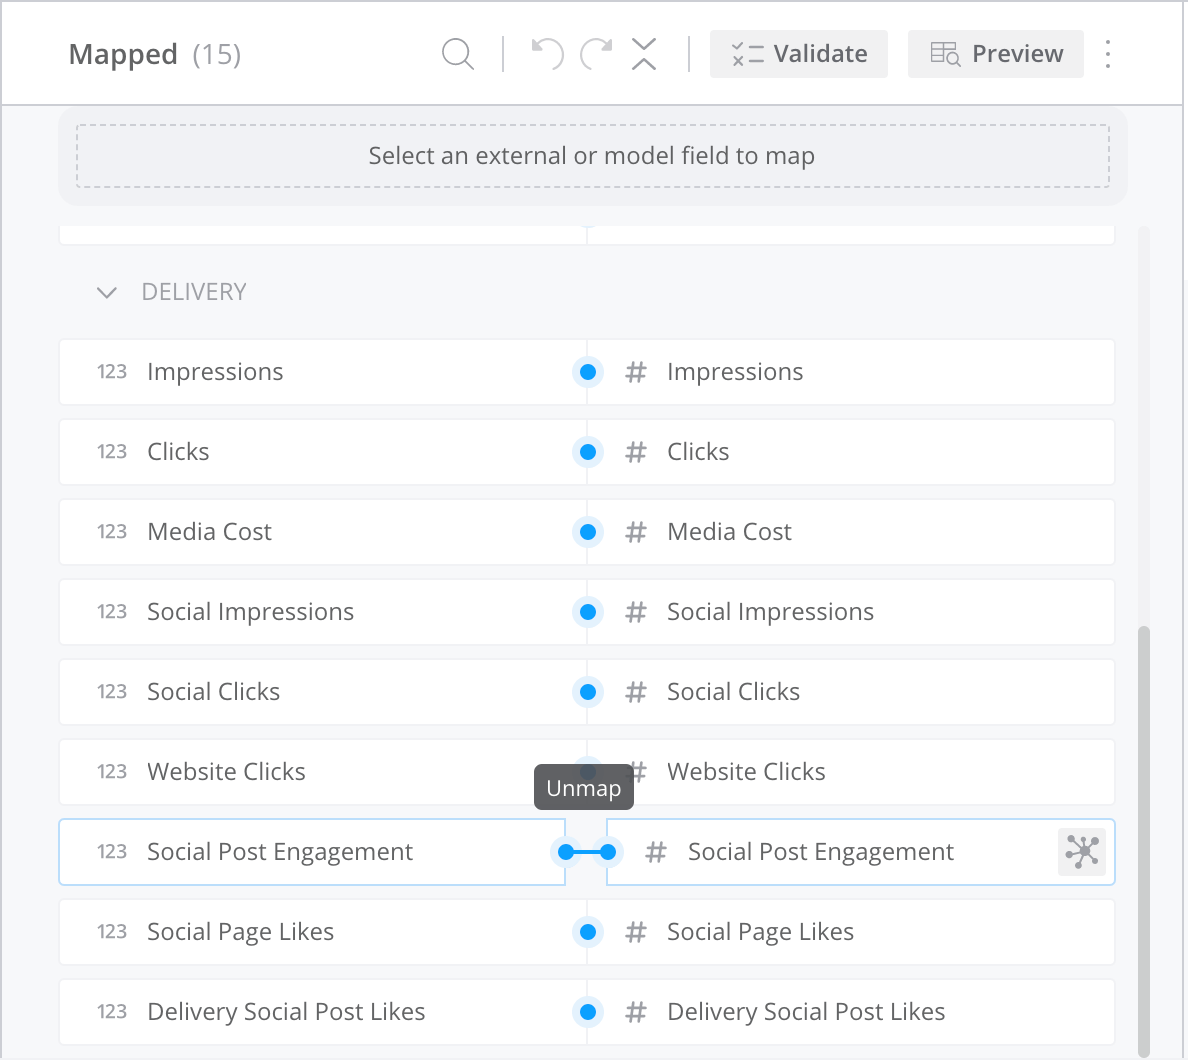
- Let’s practice unmapping and re-mapping a field. Within the middle “Mapped” panel of the screen, scroll down and find Social Post Engagement. Hover over the blue icon that connects the External Data (left) and the Ads Data Stream Type (right).
- Now, click on the “Unmapped” toggle under External Data in the left panel to quickly find that field.
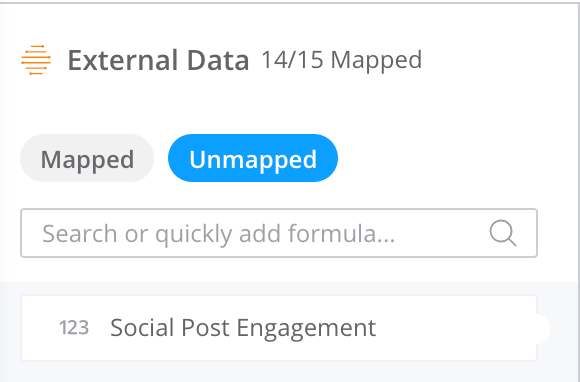
- Select “Social Post Engagement” and that will be shown now in the center panel.

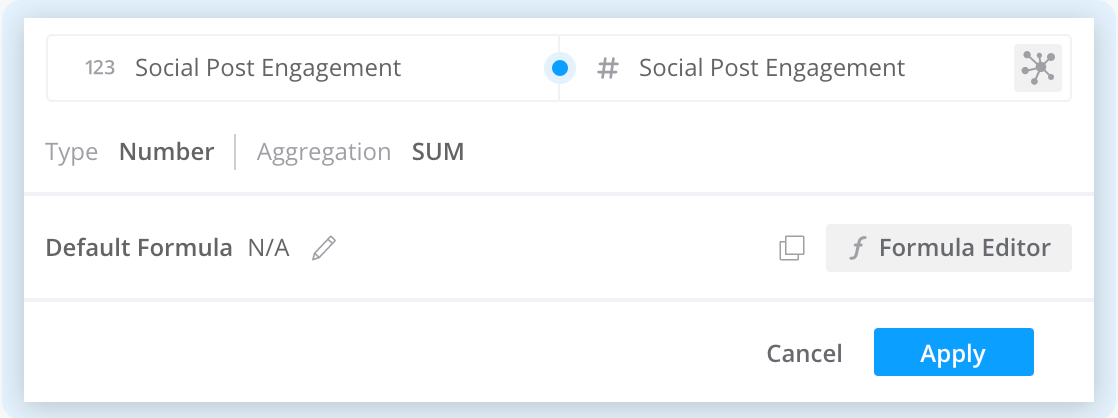
- To map it to the “Social Post Engagement” field in the Ads stream, search for it in the right panel (under “Ads”) and then click Apply to map these fields together.
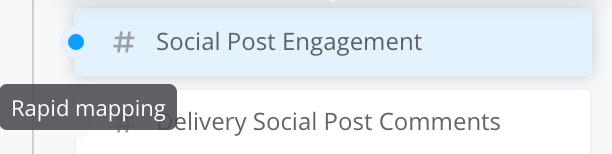
- Tip – the option for “Rapid mapping” is available if you click the blue circle next to the field. This will automatically map this to the External Data field without the confirmation screen. This is a faster way to map data!
- Also, by clicking on the “Model field properties” (below) you can change the Display Name of the field and more advanced settings.
*Note – modifying the Display Name for a Data Model field will change that field’s Display Name wherever it appears throughout the Workspace you are currently in. This can be a substantial change.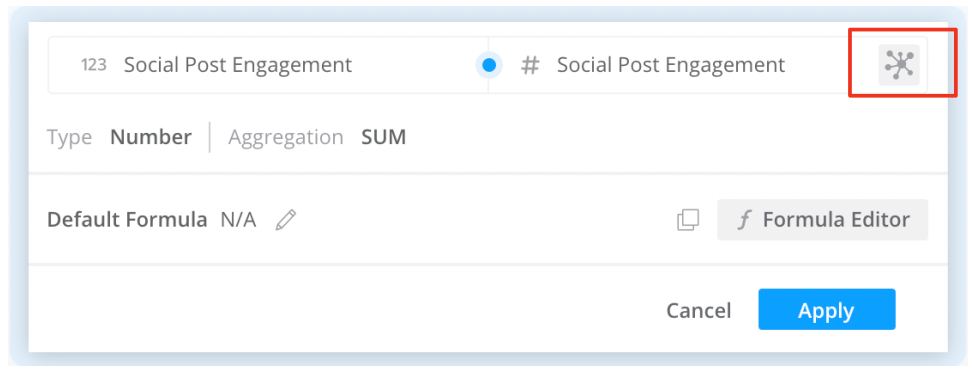
- Next, apply a mapping formula to manipulate the data as it is uploaded into this Data Stream, click on the Media Cost field in the main section of the Mapping screen:Add a 5% commission to the Media Cost, by typing in: csv [‘Media Cost’] * 1.05. This will multiply the source data in the Media Cost column of any file we upload into this Data Stream by 1.05. You can also check the syntax of the formula by clicking on Formula Editor and Validate Syntax button on the pop-up screen.
Then, click on ‘Done’ to apply the new formula.
- Before wrapping up the Mapping, select Validate to check for validation issues (errors will appear on the left-hand panel of Datorama). Also, check out Preview to see how your mapped data looks.

Now that the mapping is complete, you can either select Advanced or Create. The Advanced screen will show you advanced settings that you can learn more about on Salesforce Knowledge Base here. Data Streams with TotalConnect
Congratulations, you’ve created your first TotalConnect Data Stream! Always make sure to verify your data in a Pivot Table before proceeding.


