
Business Case:
Whenever the email is bounced in Salesforce Marketing Cloud, the status of that subscriber gets changed to bounced in All subscriber list. Here the challenge is how to update the bounced status of that subscriber in Salesforce CRM.
This information if available in CRM can help the record owner or Sales user to have this updated when they talk to this subscriber next time.
Solution Approach
- Create an automation that fetches data from _Bounce data view and stores in a DE
- Create a journey that is fired based on the automation above which will be updating the Salesforce records using Update Contact activity.
Pre-Requisite:
SFMC and SFDC CRM is integrated using Marketing Cloud connect.
Solution:
Here, we are using bounce data view from SFMC.
Step 1: – Create a Data extension that will be storing the data from bounced data view.
Marketing cloud provides different data views for its users to get ready made data. Here, all we need is to query the data from these data view using query studio.
To know about data views and how to create a data extension using data view you can refer below article.
How to retrieve data from Data view to Data extension ?
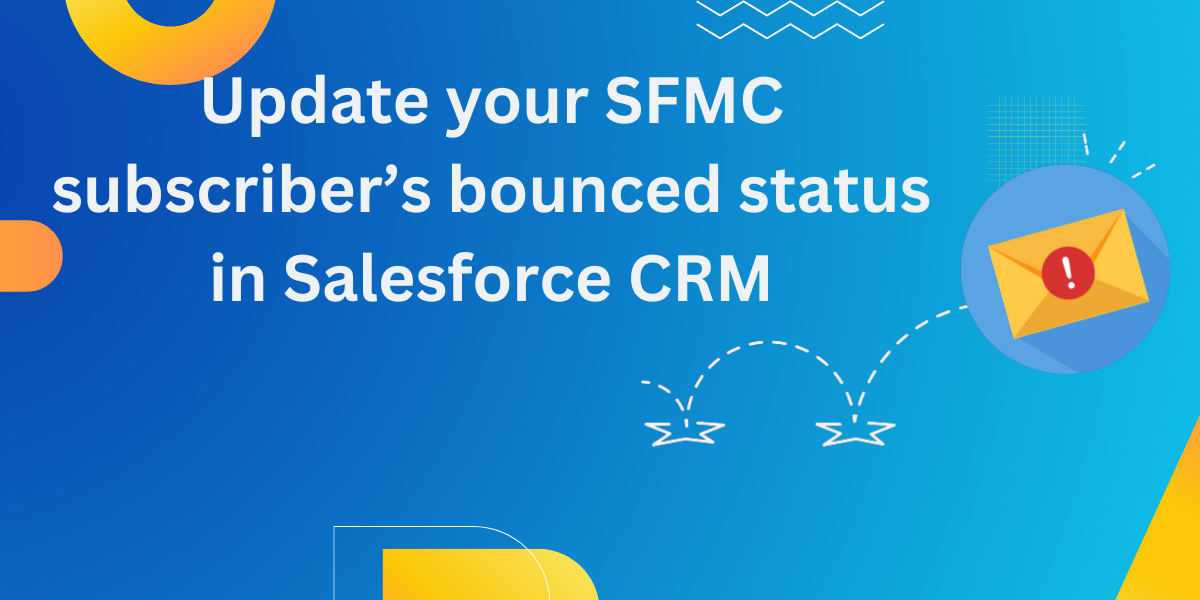
Here for reference, we created two fields in this data extension.
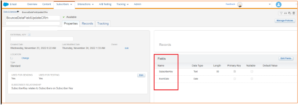
Step 2: Next, we will create an automation, which will be populating the data extension which we have created in first step with bounced records.
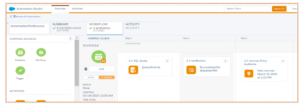
- Go to automation studio, click new automation button.
- Select Starting source as Schedule. The schedule defines the time frame in which this query is supposed to run in automation.
- From activities select SQL query and drag it in panel as shown in image.

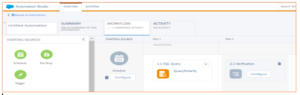
- In SQL query click choose and create new query activity with below query:
SELECT SubscriberKey, BounceCategory, EventDate
FROM _Bounce
WHERE BounceCategory = ‘Hard bounce’ AND EventDate > dateadd(hh, -24, getdate()) - Click next and select target data extension which we have created in step 1.
- In action you can choose according to your business requirement. For reference we are using overwrite here.
- From activities select verification and drag it in panel as shown in image.
- In verification activity click configure and select data extension we created in step 1.
- Add condition as shown in image and click next and finish.
Step 3: In this step we will be creating a journey that will updating the records in Salesforce CRM.
- In journey builder create a new journey and select entry source as data extension which we have created in step 1.
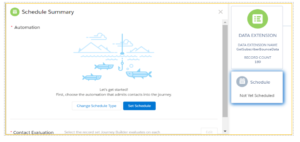
- Click on schedule and select Automation.
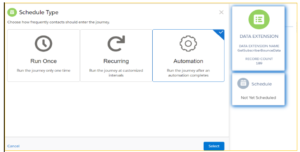
- Click on Set schedule and select the automation you have created in step 2.
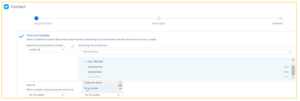
- Now click on contact Evaluation and select Evaluate all records.

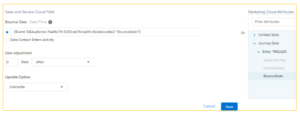
- In next step, drag and drop the Contact activity from Sales and Service cloud Activity panel.

- Now Select Action and Click Find and Update. Match the Contact ID with the Subscriber Key of Journey Data. Select Do not update and click Next.
- In Map Fields select the Attribute field that you want to update (Bounce and Bounce Date).

- Click on Bounce Date and match it with Journey Data (data extension) field. Click Save and then Click Next.
- Click on Exit criteria and select Re-entry anytime. Save, validate and activate the journey.
- Now, go to the automation that we created earlier, there will be one more activity reflecting after query activity.
- Schedule and run the automation.
- The journey will start running automatically after automation run.
Pros to use this approach.
- Once we schedule the automation, there will be no dependency
- Both fields on CRM will update automatically
- No code process involved
- When both fields get updated on CRM, the user knows the bounce status and bounce date


